
How to Get the Best Out of Your Espresso at Home
There’s nothing quite like a well-brewed espresso - rich, smooth, and packed with flavour. But getting it just right at home can sometimes feel like a bit of a science experiment. Too bitter? Too sour? Too weak? Don’t worry, we’ve got you.
At Moon Roast, we believe great coffee starts with great beans, but it’s the right technique and a little know-how that will take your espresso to the next level. Whether you’re a home barista perfecting your craft or just starting out, here’s how to dial in your espresso for the perfect shot every time.
Step 1: Use Fresh, High-Quality Coffee
Great espresso starts with freshly roasted, specialty-grade beans. Using stale coffee will give you a flat, lifeless shot, no matter how good your machine is.
-
Buy whole beans and grind fresh for each shot.
-
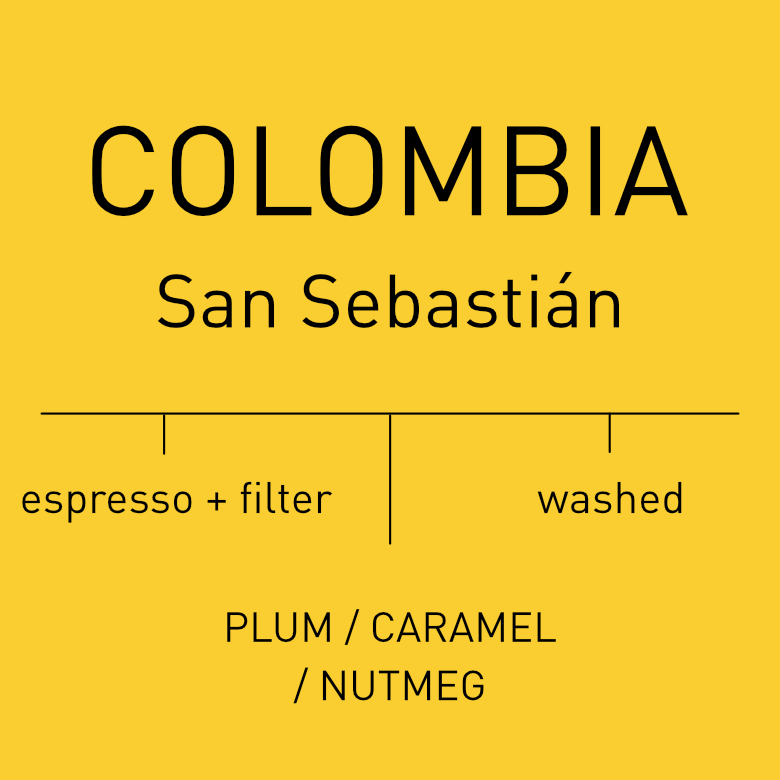
Choose a roast suited for espresso - our Colombia San Sebastian and Moonshot House Blend are perfect for a balanced, smooth espresso.

💡 Top Tip: Store beans in an airtight container away from light and moisture - not in the fridge!
Step 2: Dial in Your Grind
Espresso is all about precision, and getting the grind right is one of the most important steps.
-
Too coarse? Your espresso will rush through too quickly, giving you a thin, sour shot.
-
Too fine? Your shot will take too long to pull, making it over-extracted and bitter.
How to find the sweet spot:
☕ Aim for a shot time of 25-30 seconds from the first drip to the last.
☕ The coffee should flow like warm honey - not too fast, not too slow.
☕ If the shot tastes too sharp or sour, make the grind slightly finer. If it’s too bitter, go coarser.

💡 Top Tip: A good grinder is key. A burr grinder will give you consistent results - blade grinders just won’t cut it.
Step 3: Get Your Dosing & Tamping Right
How much coffee you use, and how evenly you press it, makes all the difference.
-
Use 18-20g of coffee for a double shot (check your basket size).
-
Distribute the grounds evenly before tamping - no clumps!
-
Apply firm, even pressure when tamping - too light, and water will rush through; too heavy, and your shot will choke.
💡 Top Tip: Hold the tamper like a door handle and press down with even force.

Step 4: Nail the Extraction
Now for the moment of truth; pulling the shot.
What to look for:
☕ A shot time of 25-30 seconds.
☕ A steady, even flow (no sputtering or gushing).
☕ A thick, golden crema on top.

If your shot is too fast or thin, the water is passing through too quickly - tighten your grind. If it’s too slow or bitter, the coffee is over-extracting - loosen your grind.
Step 5: Texturing Milk for Lattes & Flat Whites
If you’re making milky espresso drinks, getting the milk texture right is just as important as the shot itself.
-
Start with cold, fresh milk.
-
Introduce air early, then let it swirl into microfoam.
-
Aim for a silky, glossy texture—it should pour like wet paint, not stiff foam.

Final Thoughts: It’s All About Experimenting
Dialing in espresso takes patience, small tweaks, and a little trial and error - even professional baristas adjust their settings daily. The key is consistency:
☕Use quality beans and grind fresh.
☕Find the right grind size and shot time for balanced flavour.
☕Keep your machine clean -old coffee oils can ruin a good shot.
Once you’ve got it down, there’s nothing quite like a beautifully pulled espresso at home.